Courtesy of LawBearCo: Preserving Yesterday’s Sweden For Tomorrow’s China™

 Juniper Monkeys
Courtesy of LawBearCo: Preserving Yesterday’s Sweden For Tomorrow’s China™
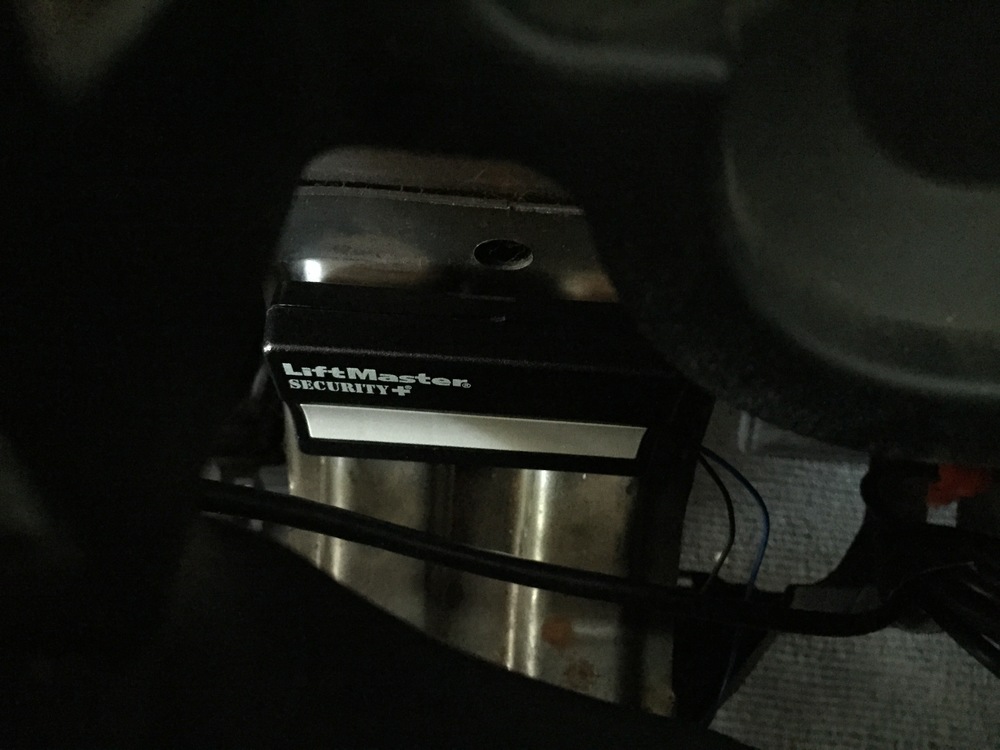
This has to be the laziest thing I’ve ever done. I was sick of my ugly garage door opener sticking to the visor where it would pop off and hit me in the eyebrow every six minutes. However, when you take the case off the battery pops out. So I soldered wires to the internal switch, put the case back on, and VHB’d it under my dashboard with with a switch dangling out.


I wanted to do this for a while — Game Boy shelf. It’s just an Ikea Nornas with a little middle-thing I made out of scrap wood, but it’s nice to have all that stuff in one place. Top row, we’s gots R. Monkeys’ first Game Boy, R. Monkeys’ Color, the Color I modified with an Advance speaker and frontlight, my first Game Boy. Middle row, my modified Advance (AGS101 backlit screen), the Advance SP I put together for R. Monkeys to match her 3DS, and my Anniversary Micro. Bottom row, 3DS XLs. I’ll probably paint the Nornas white to match the rest of our shelves when I have more time.

I did have time to set up the important stuff, though:

It’s pretty nice to have an actual place to do garagey work — for the first time in ten-or-so years, at least. I still need to bring my bins of metric bolts from my padre’s house, my Dremel stuff and drill chargers/car parts/etc. are still trapped on the other side of the garage until I can afford proper shelving, and I’ll be adding a Hakko soldering station and a scroll saw I’ve had my eye on pretty soon… but eyy, it’s a start.

Edit, two weeks later: Ah, there we go:

The Element has kind of a weird gauge cluster backlight color. Greeney-bluey white. I thought I’d see about making the gauges and dials light up red instead, because I don’t have any real problems to focus on. Fortunately, it was a success despite being conceptually bankrupt.

The gauge cluster comes out in about 30 seconds, which isn’t an exaggeration. A little prying, one screw, a little more prying, and four screws. That was nice. The last time I was inside a gauge cluster it was to fix my Mercedes’ odometer; you had to screw around under the dash for a while, and that thing had a damn oil line going right to the gauge (features like that are why I think of the W123 as the last, best car of the 1960s). Anyway, for the Element cluster you can just use #74 bulbs, incandescent or LED, in the color of yer choice. I tried some LEDs, but I went back to incandescent because the light was a little more even.

Getting into the center console is real easy, too, and once it’s off you can throw another #74 bulb in the shifter. And getting into the HVAC dials and radio is super-easy, too — Philips screws and a little prying. But then the conceptually bankrupt part on my end was that things inside ’em are a little wacky. The HVAC dials use crazy tall bulbs, and the radio uses tiny little weirdo bulbs, so replacing them sounded like a real pain in the ass.

The HVAC knobs and buttons are pretty easy, though, because they used colored filters, which you can replace with Rubylith pretty easily. Obviously it’s best not to replace the dual-color temperature dial filter, although in a poignant critique of my mental acuity these days I didn’t actually think of that until I had already pulled the thingy off.

The radio’s the real dumb part. It uses little those blue guys that go over the bulbs, so I pulled all those off and just covered the light spreader with Rubylith. This was basically an interminable exercise in cutting shapes. In the picture I’m, like, 15% done. It was a real nightmare if you have big dumbass hands like me. I found out that I lost my Exacto knife, so I used woodcarving tools, which probably didn’t help much.

Kind of a pain, but I’m pretty happy with the results (although they’re somewhat obscured by blurrycam). A lot nicer at night. There’s a lot of really long unlit roads to the west of me, so it’s nice to have the red gauges way down low.
I dunno if I would call myself 100% sold on center stands, but it sure makes changing a front tire real easy when you put some weight on the back.

My usual setup for listening to music is an iPod connected through a line out dock cable to a Fiio headphone amplifier, which powers AKG Q701s. So there’s certain limitations. Because LOD cables only work with the old 30-pin port, you have to use an older iPod; likewise, because I like to listen to music at night, in the dark, an older iPod is necessary to have physical buttons, so you don’t have to look at a bright screen. So you get a choice between the iPod Classic, which has a noisy, slow hard drive, and an iPod Nano, which tops out at 16 GB. I’ve used the Nano for a long time.

But I have a lot more music than the Nano holds, which has gotten a little annoying. I was thinking about getting an iPod Classic, but didn’t want a hard drive, or the really laggy interface the post-2007 iPods have used. Putting in a 1.8″ SSD fixes the first problem, but leaves the second, and adds a lot of cost (since you’re talking new iPod, then new SSD). And using an old used iPod (with the good B&W interface) is hard because they are universally beat to hell by now.
I remembered that, around the time I got my first DSLR, one of the cool things you could get was a Microdrive CompactFlash card, which held four gigs compared to 128 or 256 MB on a regular CF card. And because of Apple’s bulk purchasing, the cheapest way to get the Microdrive was actually to buy an iPod Mini, then harvest the Microdrive from it and throw away the rest. Given that iPod Minis were more robust than the big iPods, and that I had a spare 64 GB UHS-1 Micro SD card that I bought to use with an Nvidia Shield and forgot about, I decided to do the opposite, and throw away the Microdrive in favor of the SD card. Then you get the best of everything — fast OS, big solid-state storage, robust enclosure, 30-pin out with the good DSP, and a big click wheel.
There’s several guides to putting a CF card in an iPod Mini, but I wasn’t sure what would happen with this; the iPod uses CF cards natively, but I needed to go through a CF-to-SD adapter, then an SD-to-µSD adapter. So it’s a little hacky.
The only thing to really watch out for is to make sure you get the second-generation Mini, because the first-generation can’t play lossless audio.


That’s how you open them — spudge off the top and bottom covers, undo two screws and unplug the click wheel, then the rest just slides out. The last picture is the stock Microdrive and ancient battery in place.

…and there’s the adapter-pile and new battery in place, with some half-hearted tape to make sure it doesn’t jiggle inside. The new battery has 157% of the original’s capacity; given that the original could run the iPod for 18 hours, and given that the Microdrive probably uses a lot more power than the Micro SD card, I think this thing should give pretty awesome battery life.

Plugged in for testing before reassembly.

Aw yuss. Works perfectly, holds all my music, sounds great with the Fiio. Total cost was $90 — $65 for the Micro SD card (Sandisk Extreme Plus), $15 for the iPod, $10 for the new battery. All I want to do now is get a dark red gel filter and slip it between the screen and the screen-hole, to make the backlight nicer to use in the dark.

As a sidenote, me-of-ten-years-ago was really happy to peel a Microdrive apart. It is indeed a micro drive.

This was a fun little project. I’ve always wanted a nice wooden toolbox. More-so recently, because the plastic Craftsman one I got in 2006 has started offgassing a very distinct odor that’s like a stoat drank a lot of sasparilla, peed, then died and began to rot. Unfortunately, nice wooden toolboxes are very expensive. Seems like it’s new Gerstner, old Gerstner, fake Chinese Gerstner, and “other”. So I went with “other”, and found this Neslein one for a good price. Good quality — box joints and all — but it needed a little work. A few of the drawers needed a little glue at the back, and all the liners were pretty nasty. So I did some gluing, and some re-lining, and now it’s pretty nice. I was gonna re-do the finish in a moisture-cure urethane, but after giving it a good clean I think I’m okay with how it looks. All I guess I’ll do is fill those holes on the front, and clean up all the external metal bits. Worked out well — good stuff for not too much money. Holds all ma’ chisels. Here’s a little gallery.


Galvanic corrosion inside an 11 month-old Western Digital hard drive enclosure. Real shitbutt design there.

Aw yuss, got my new little computer put together.


Fun little weekend project. We picked up a Game Boy Advance SP, since it’s the best way to play Game Boy Color games (you can put the Advance SP AGS-101’s backlit screen in a regular advance, but I dig the folding. Beats a frontlit GBC, too.). R. Monkeys’ 3DS XL is a pink over white model, so I decided to make the Advance SP match her XL.
Pretty simple stuff; I picked up a new shell (direct from whatever Hangzhou factory is still cranking them out), and just swapped the bottom case, lid, and hinge covers/rubber bits. I probably should have gotten new pink shell parts, since the Chinese stuff didn’t match up very well with the original Nintendo bits, but apart from that it’s not complex.


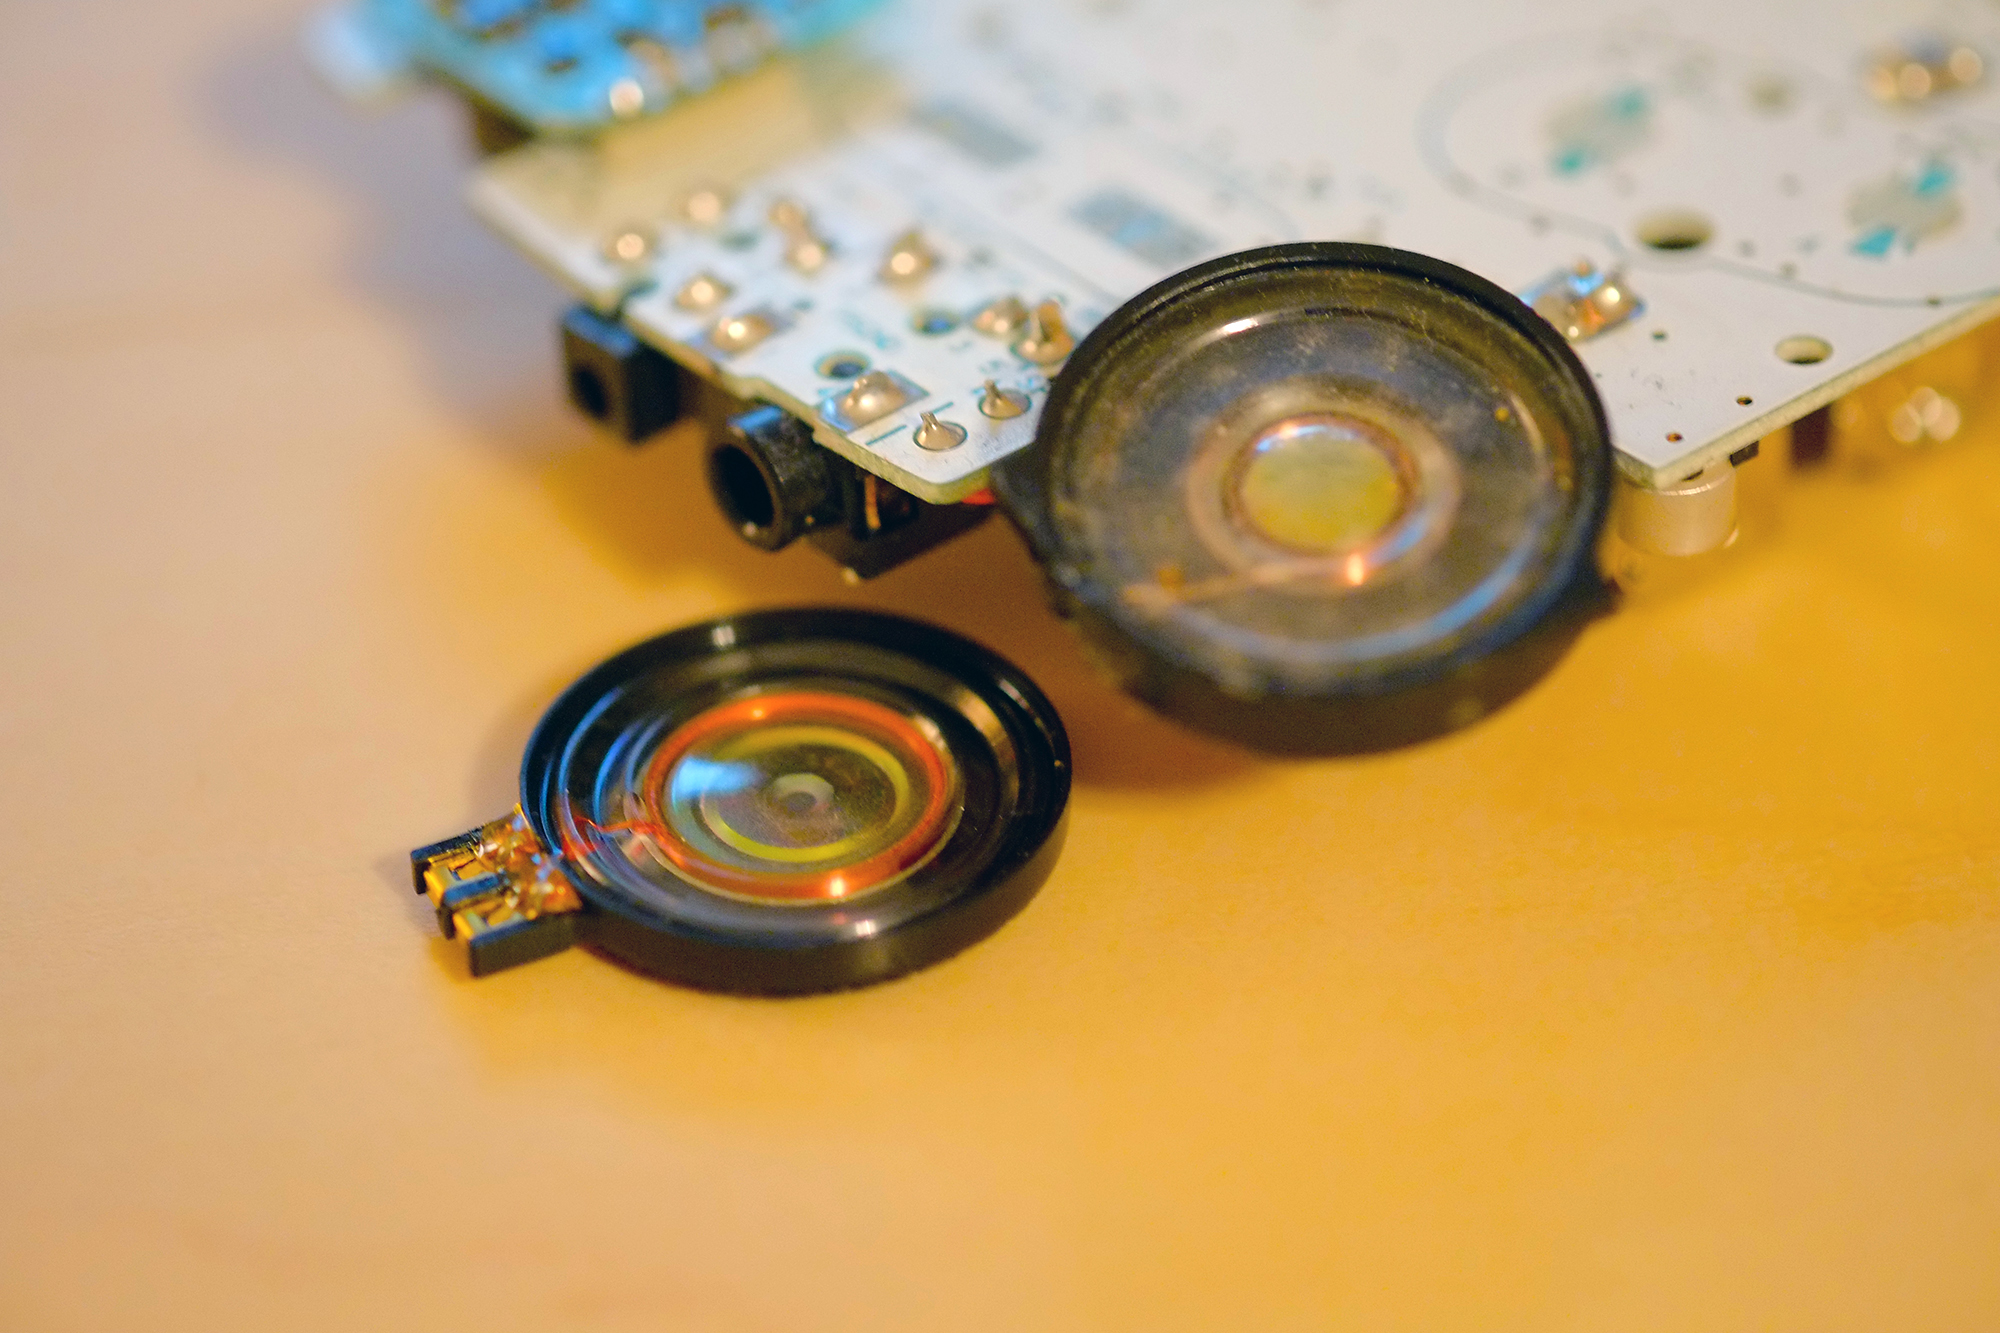
Incidentally, a great five-minute mod for a Game Boy Color is to drop in the speaker from an Advance SP. You just nibble away a bit of the GBC’s speaker surround to make room for the new speaker’s contacts tab, then just solder the wires right on and drop it in. Good stuff. Here’s what I mean by “nibble”, and a comparison of the new and old speakers.

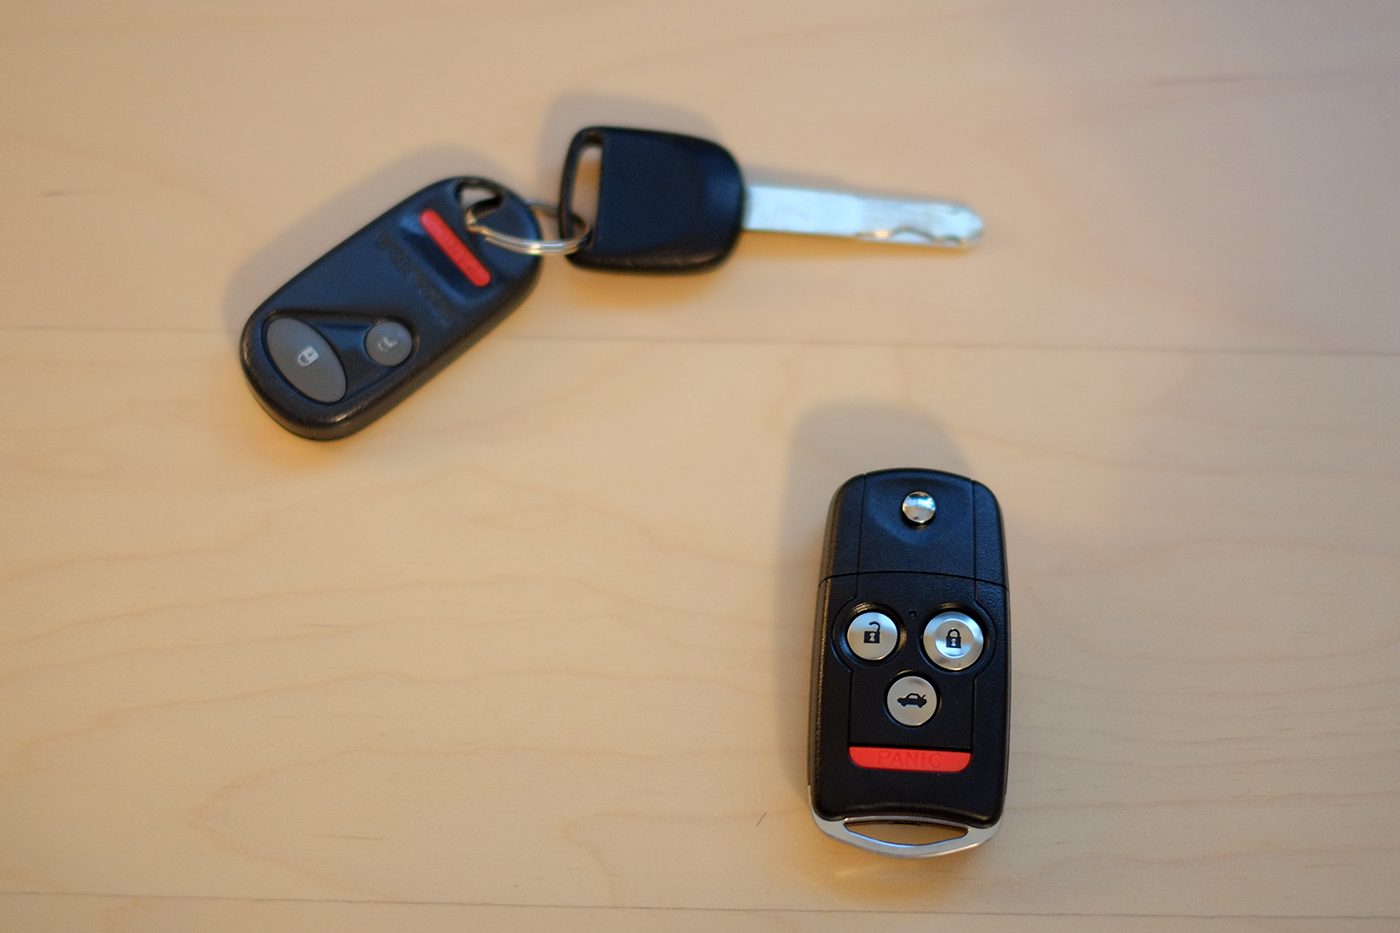
I love my Element, but one thing I don’t like is the separate remote and key setup that is identical to that found on the ’97 Civic that one of my exes owned. It takes up a lot of pocket space, and it whacks my knee while I’m driving. So I figured, there had to be a way to get a slightly more modern key with OEM parts — no eBay crap. I figured out this procedure using a few helpful forum threads, but thought I’d write it up here because searching forums is a task that should be reserved only for the hated Fnord, not civilized man.
So, what you need is an ’07-’08 Acura TL flip key (35111-SEP-306 – $60), an Acura RDX remote faceplate (35118-STK-A01 – $10), a spare original key for your car, and an ’04-’11 Element. ’03s use a different system. You can use a $30 Honda Ridgeline key to save some part costs — it’s not a flip key, but it does have the keys and button in one unit so it has many of the same benefits. I’ll also note that if you have an ’07+ Element I believe you can skip all the transponder pill stuff (although I can’t confirm that one way or another). Mine’s an ’05 so I couldn’t.
There’s the beginning. The first step is to cut open the old, donor key. The easiest way is to run a Dremel around the edge of the plastic and peel the halves apart. You’re after the transponder pill, which is in a white plastic housing. This is what the car’s immobilizer talks to.


The pill is easy to pull out. Do so and set it aside.
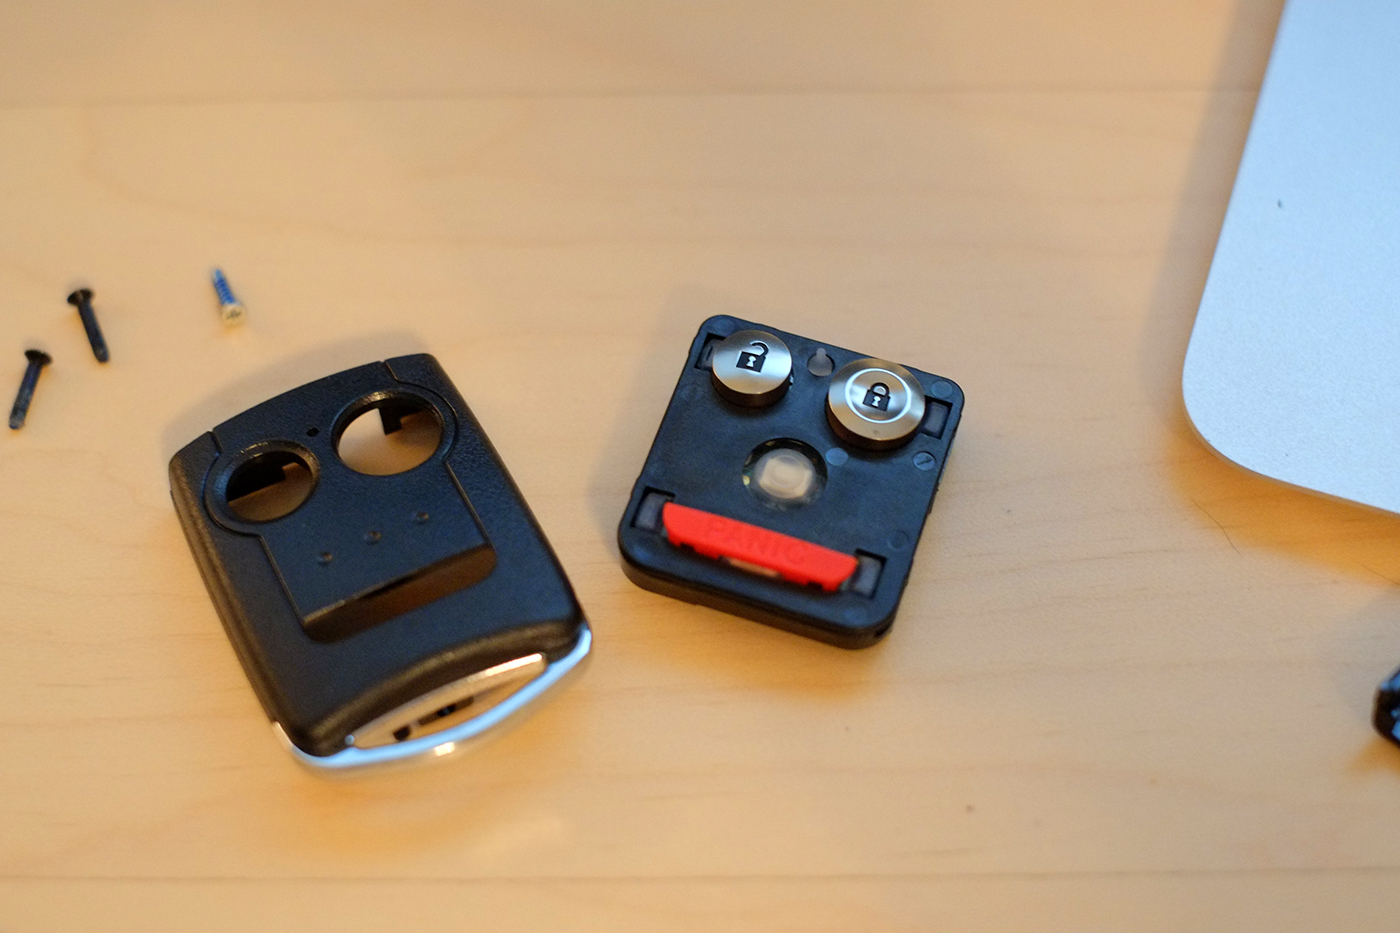
The next step is to replace the TL key’s “pill” (more of a “rectangle thing”) with your original one. Unscrew the Philips-head on the bottom (the only visible screw) and pull the faceplate unit. Set it aside — we’ll come back to it.


Once that’s done, pull the cover around the key flip button off. It’s held on by two clips and an adhesive. The clips aren’t very fragile, but be careful of scratching the part of the housing you’re using for leverage as the plastic is a bit soft. After that, you can see a cover with three Philips screws. Undo those, but be careful — there’s a clock spring pushing off that cover, see? So release the tension gently, and remember how it goes in.


Now, take out the key unit, and flip it over. There’s a little plastic cover; pry it open from the inside, and the immobilizer chip thingy is visible. It’s tough to get out; my solution was to use a very thin bit and drill it out from the other side. Then you’ve got both of them out. The job now is to get the pill from your old key in the space previously occupied by the new key’s transponder. I widened the hole using a very small file, but you could use your Dremel. Put a bit of epoxy or glue in there to make sure it stays put.
The next step is optional, although I found it necessary because the TL key looks way too much like a face. It’s got that trunk release button, right? And that’s useless with the Element. So, get your RDX faceplate out.
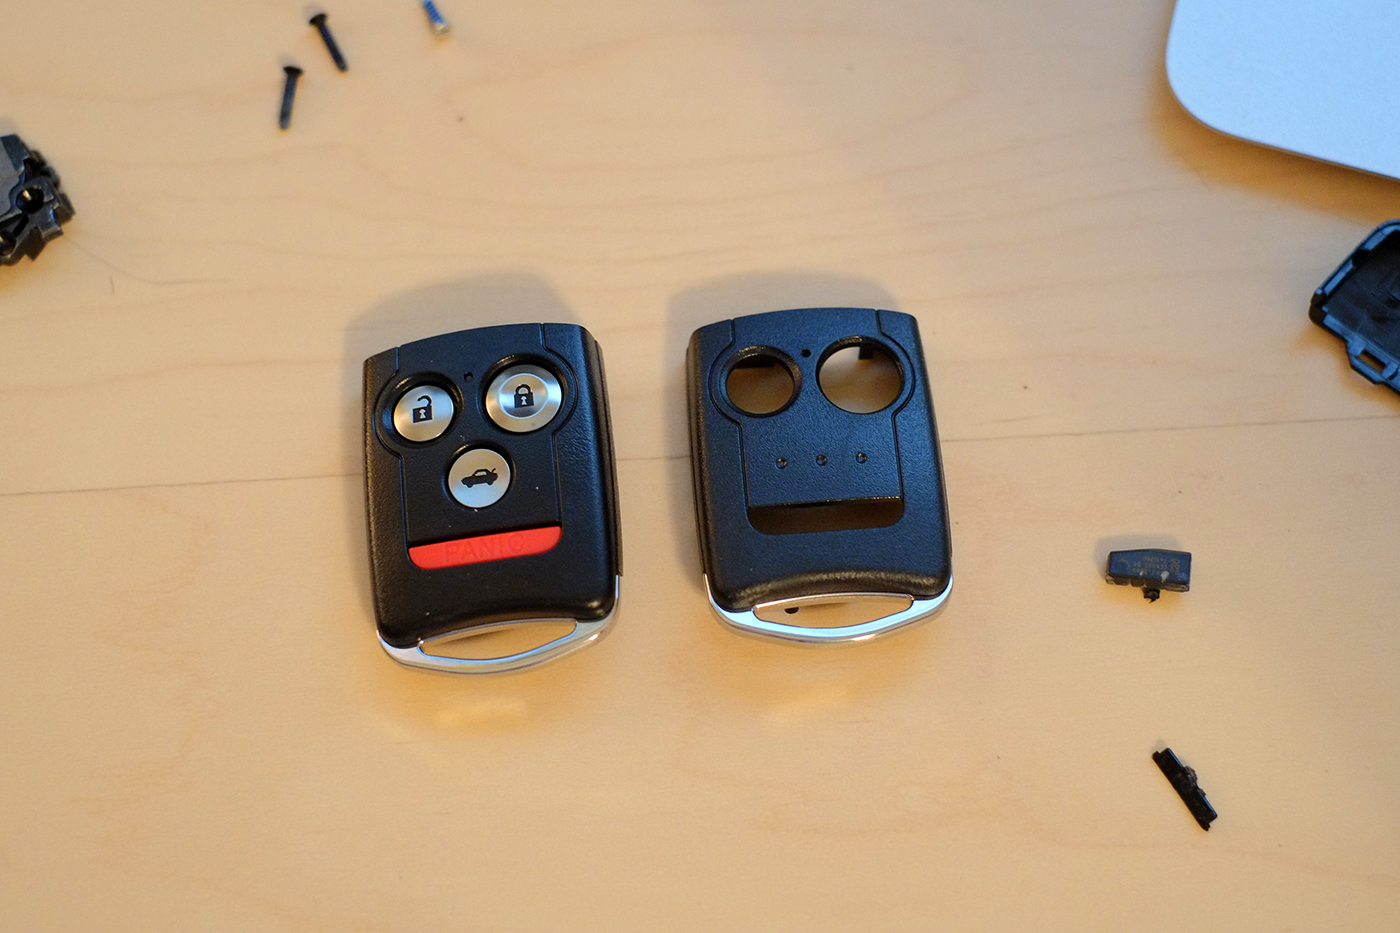
This will be pretty self-explanatory. Pry the TL remote unit open from the back; the front part that carries the buttons and electronics will separate from the back, which carries the battery. Then, pry the front “button carrier” unit open; you can see that it’s held together by four clips — note its rubber weather-sealing. The two halves will separate, and if you’re like me the buttons will fly everywhere. Go find them.

You can guess what’s coming now — cut off the nose.

Reassembly goes in reverse. Make sure the light comes on when you push the buttons, then take it and the rest of your keys to the Honda shop. Have them cut it and so on, and you’re golden.

When you get it back, the “unlock” button will probably not work even when the key is paired to the car. That’s okay — just press both the “lock” and “unlock” buttons at once, to set the key’s memory function (which the Element can’t use, of course). Then the button works just fine.